This second part of the headliner repair was actually completed six months after I first got the car. The repaired liner went right back into the car and looked fine but it was brown and I knew I wanted to change the interior colors and the texture. I thought adding some fabric would improve noise levels as well as appearance.
I found some really nice foam-backed black headliner fabric on RochfordSupply.com at a good price. They also carry other interior supplies such as door card material.

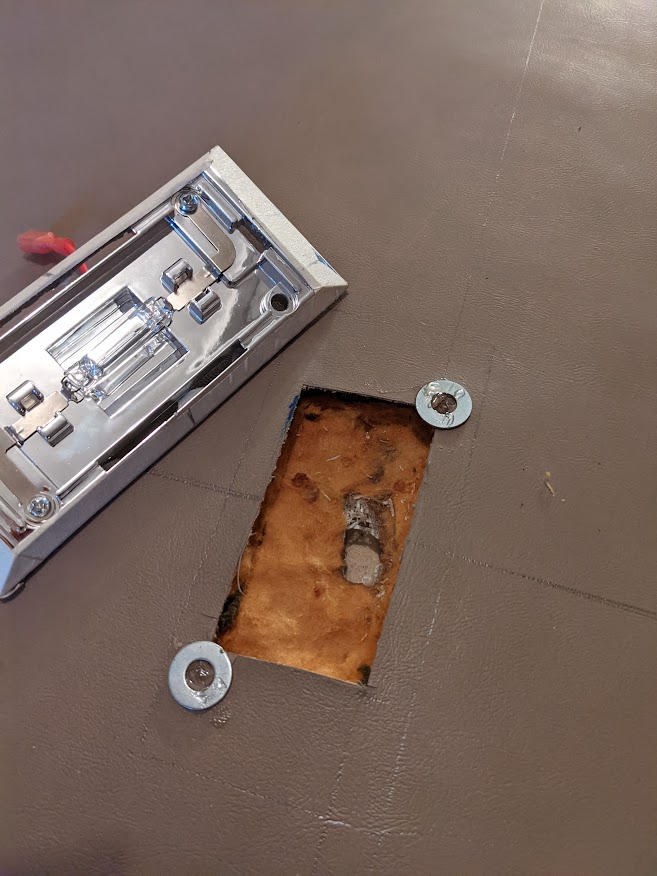
It was at this time I did my next modification. I noticed it was kind of dark inside the car. The Marlin has three light points, the two under-dash open bulbs and the rear seat fixture. My rear seat light was deformed and broken with a missing lens. I ordered a reproduction Mustang dome light off eBay that looked kind of close to the original and when it arrived, I realized would be perfect to add to the interior lighting overhead so I ordered another and set about measuring and positioning the new light in the headliner.

I ran two wires with plugs back to the back seat light wiring. That way it was tapped into the correct circuit for the door and dash switches.
I scuffed up the liner to help the glue hold. The liner vinyl was pretty clean but I went over it again with clean/degreaser then with mineral spirits. I even vacuumed it to get all the dust.
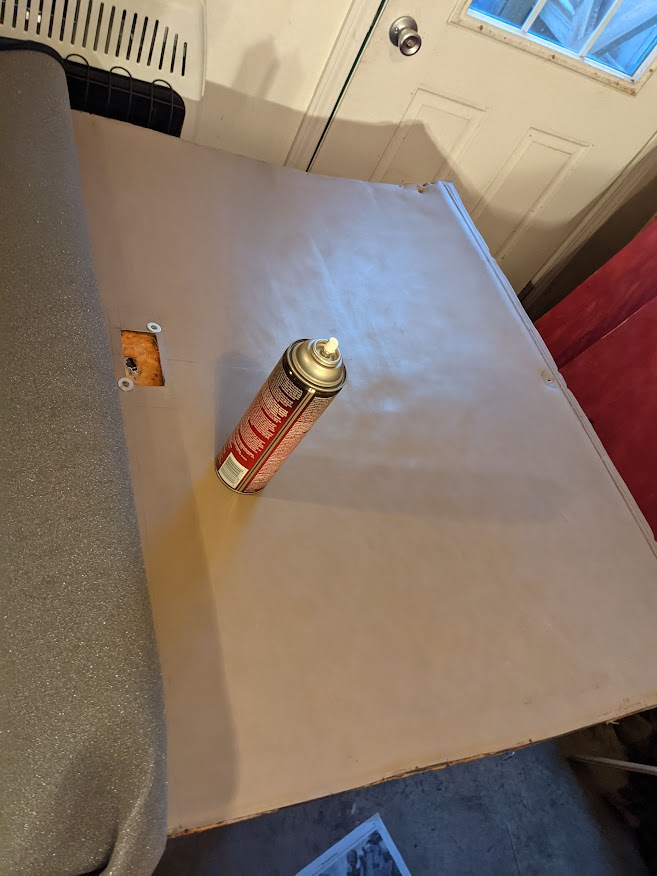
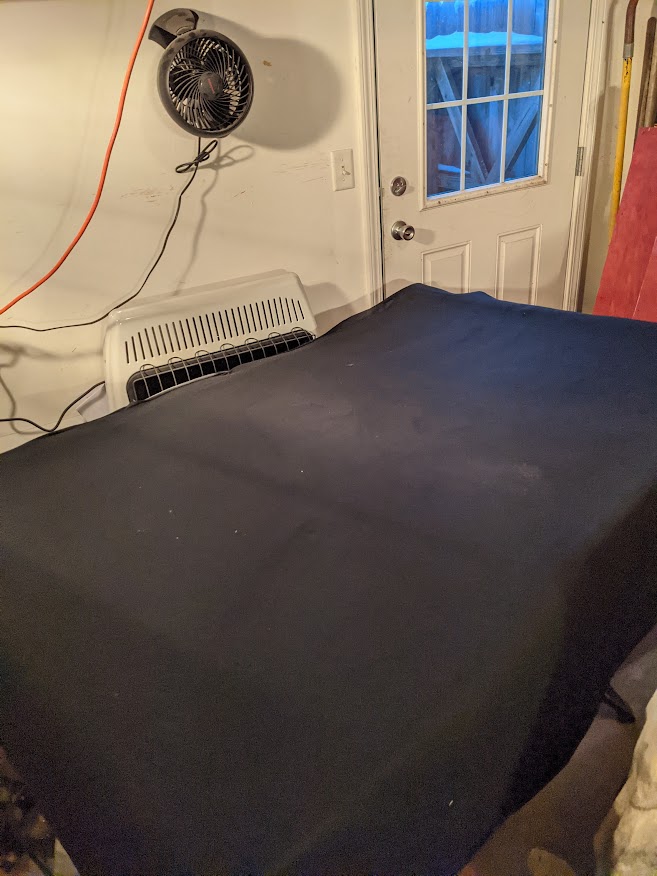
I followed the instructions on the spray adhesive can. Just a word of caution-you’ll have one shot at getting the fabric down right. A second set of hands is very helpful After waiting for about five minutes, with help, I stretched the fabric over the liner the slowly lowered it onto the liner. The outside grabbed first then the center so I using a plastic bondo squeegee, I worked the fabric carefully watching for wrinkles. I was able to lift some areas a little to smooth it out but in less than a minute the fabric was stuck permanently.
Once you submit your post comment, please allow time for the comment to be approved before it appears on this page.