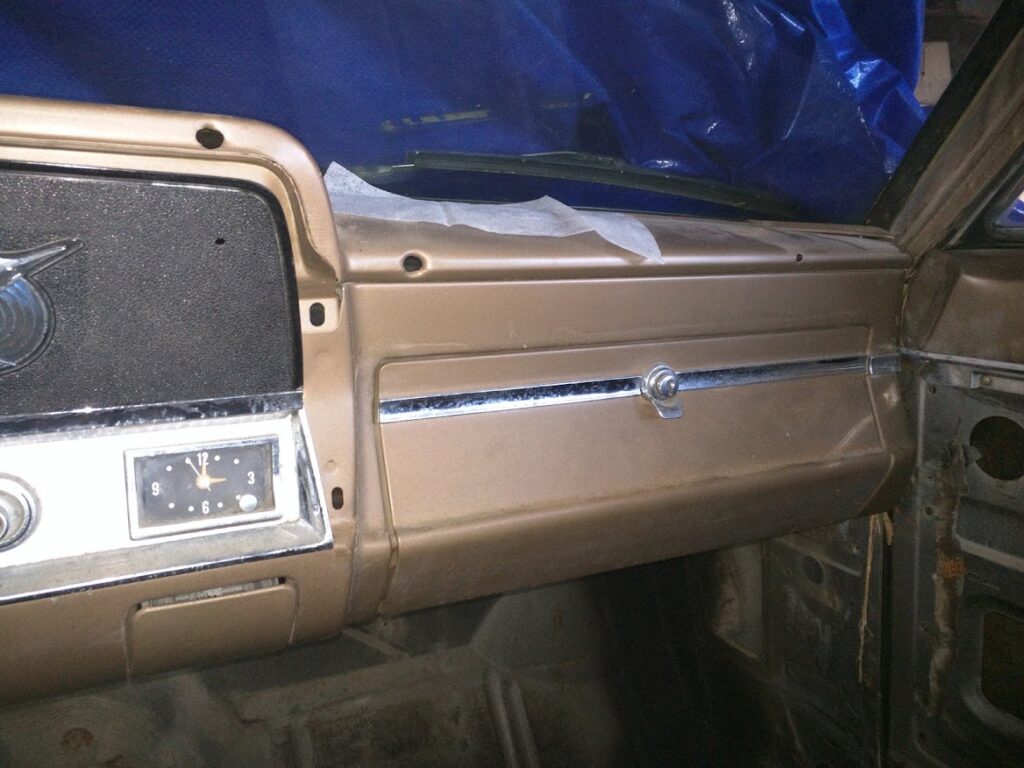
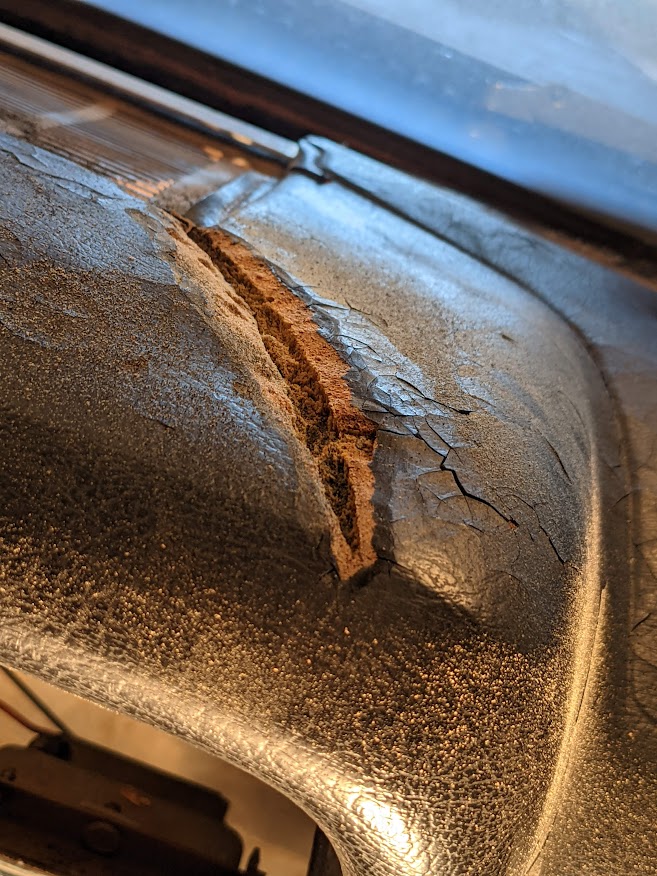
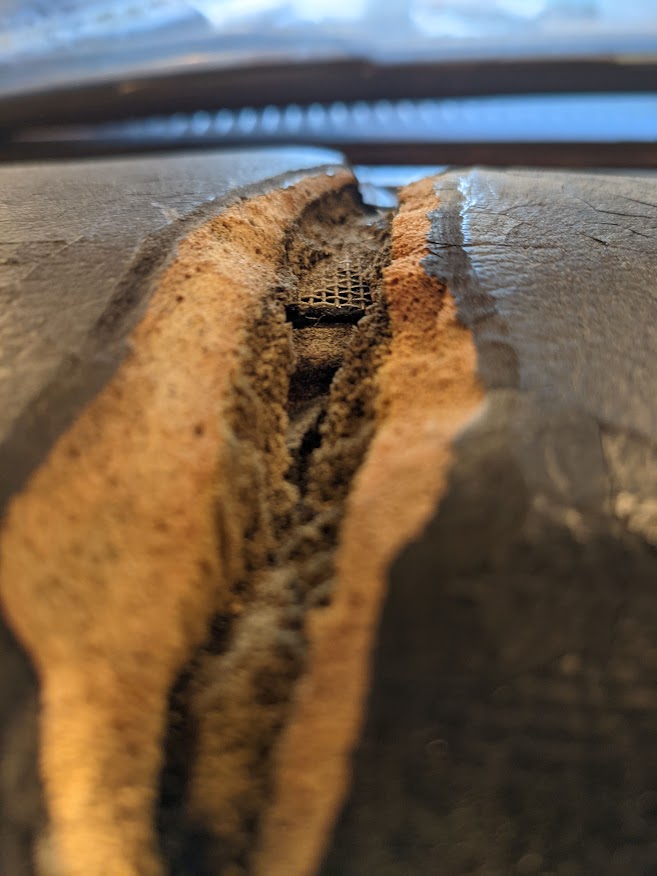
The Marlin’s dash pad was trashed. It was in two or three pieces with chunks missing. While the hot and dry New Mexico desert had been kind to the metal, it had been ruthless to the interior. When I started removing it, it fell apart in my hands, literally turning to dust.
Replacement dashes are all over the internet but of course, none for old Ramblers. I did find some for the Javelins and AMX and believe it or not, Gremlins. I took a look at a couple of custom build sites and numbers started at $1500.00. So after some searching, I choose the Polyvance repair system.
It starts with repairing the big holes with plastic then sanding and filling, primer and then paint. The whole system added up to around 250.00 so I thought I’d give it a try. Polyvance has some really good demo videos on Youtube. I’ve embedded one at the bottom of this post.
But first, I needed a good core pad to fix so I searched for days and finally found a couple. I decided on a pad from CTC Auto Ranch off a one of the very cars that I originally came across years ago in a crawl. I won’t say how much it cost to buy and have shipped, but suffice it to say I still can’t believe I paid that much for it. But I have to, I signed the check.
I will say that even though it did have few big cracks, it was in one piece and had all the cap nuts used to hold it in place. It obviously was removed carefully.
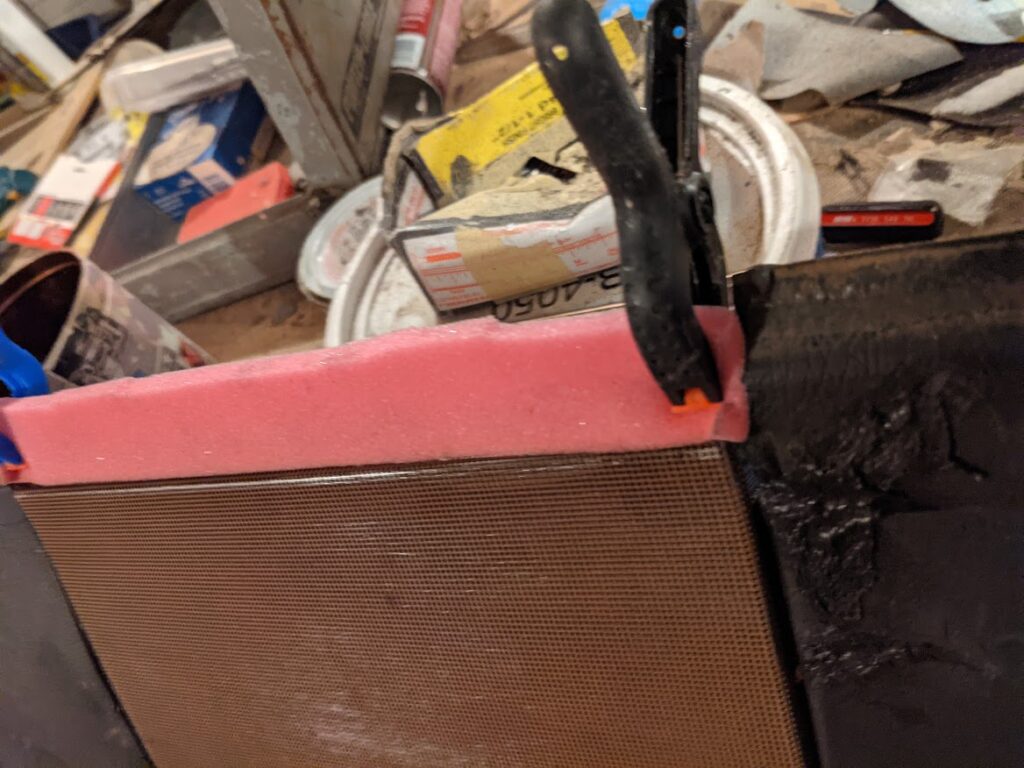
I started but re-enforcing the pad on the back side using the steel mesh included in the kit. I did purchase the welder along with some welding “rod”. It was 80.00 and all part of the anticipated restoration cost. This is an image of the plastic welder I took from thier website. It’s mostly like a soldering gun.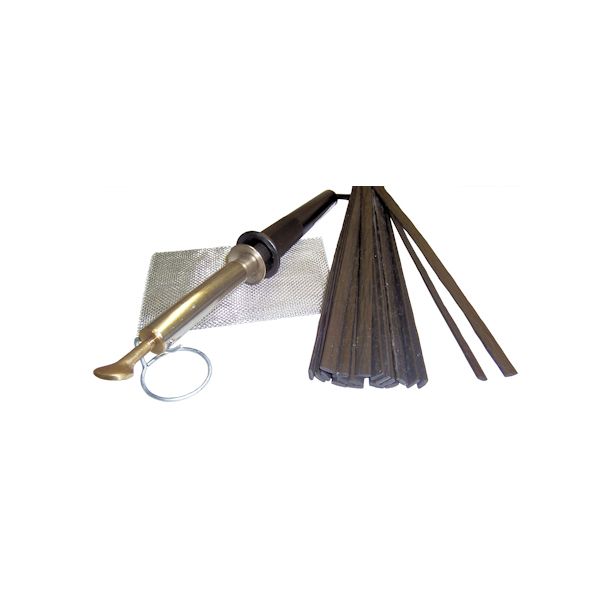
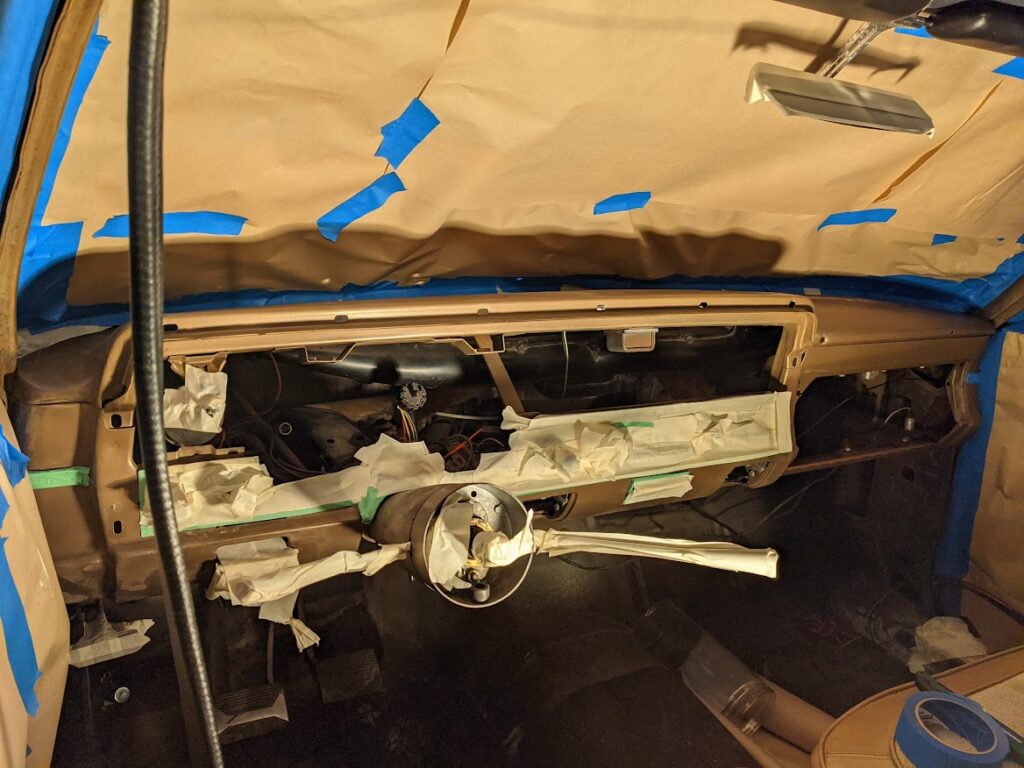
At this point I needed to install the dash back in the car. By fastening it in place I would be assured that once I filled the large gaps with plastic and filler, that it could be removed, finished and then go right back in place. And that is the way it worked out.
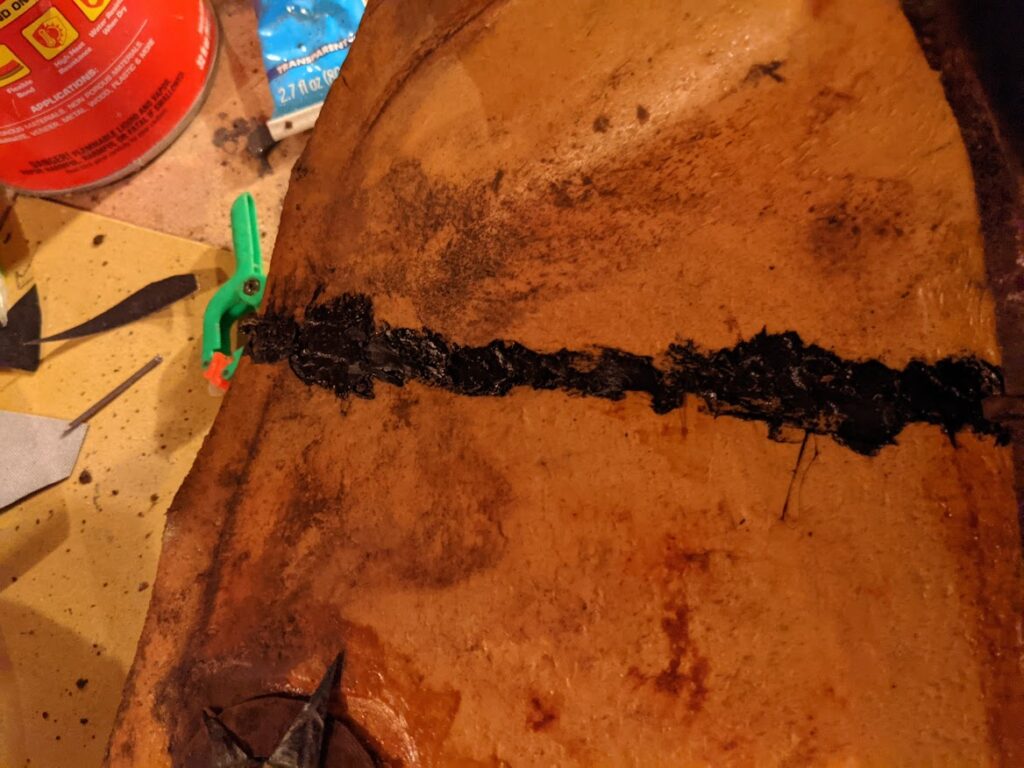
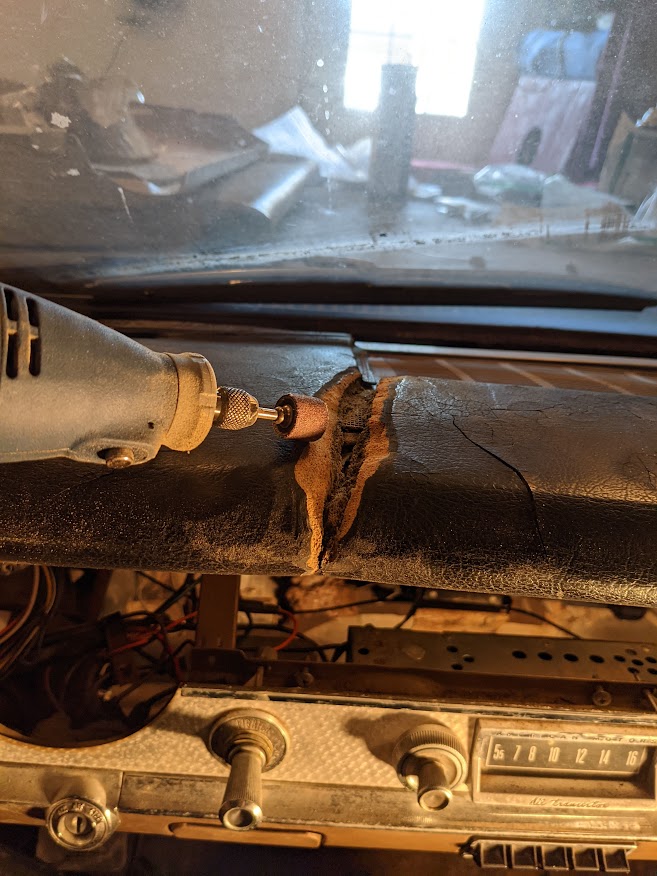
I started by grinding down the bad areas until I got to solid pad. And in the case of the center area, that ended up much larger than I first thought.
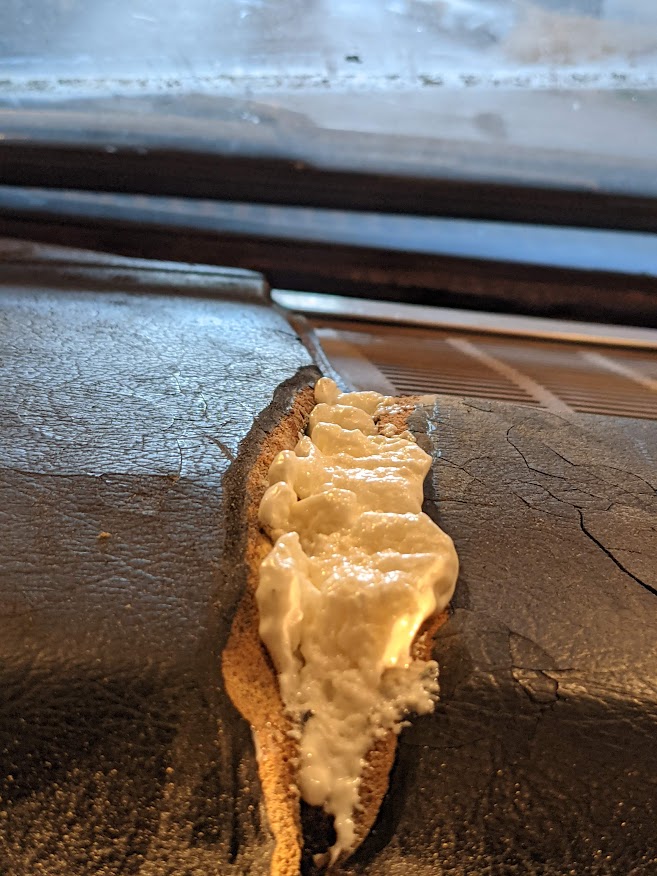
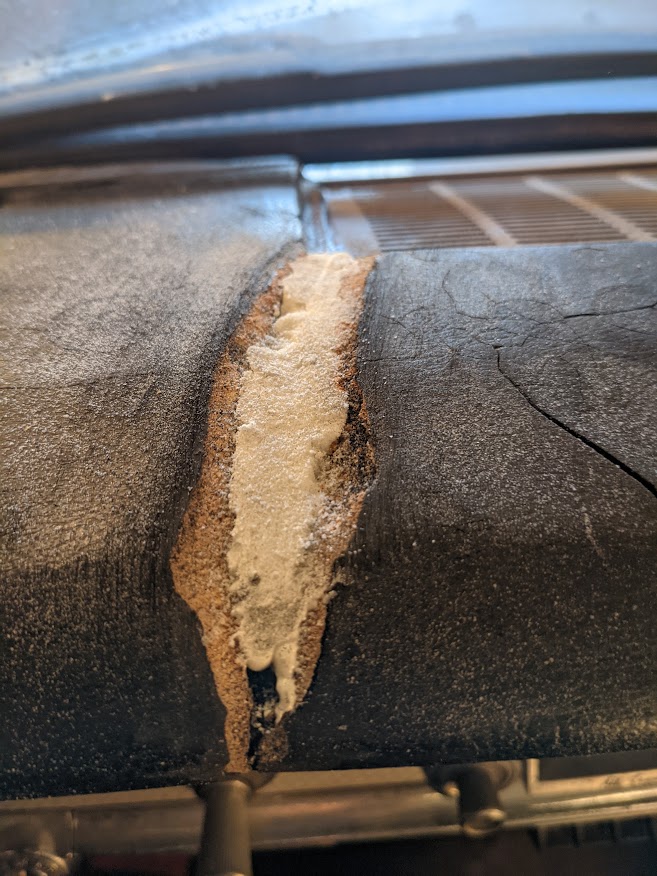
Melting the plastic took a little bit of practice. Just melting plastic on the top of a crack would not work because once you started sanding with 80 grit, the patch would have nothing to grip to and the crack would reappear. So after I got the two major gaps filled and smoothed I started on the smaller cracks. Taking small steps like that helped because in some areas, if I had ground down all of the cracks, I’d have ended up with very large holes with no point of repair reference. By fixing the large cracks first, that allowed me to open the smaller cracks next to the already repaired areas. Did I explain that right? Plus it would have been extremely overwhelming.
Once the pad was reasonably smooth I used the 2-part filler to fill all the gaps. Once cured, I sanded with 80 grit then applied another coat. The Polyvance filler is supposed to be more flexible than most other bondo types. This filling took several time to get right and every so often, a new crack would appear. I found that because the original pad vinyl was so brittle, pushing too hard when sanding would create new small cracks.
Once the pad looked like it was ready, I sprayed a coat of flexible primer, then sanded with 220 grit. That’s when the little tiny imperfections started showing. I then used spot glazing filler for the tiny stuff. This part was a little frustrating. I’d think I had it all done and I’d find more places to fill. But eventually, I got it to where I was happy.
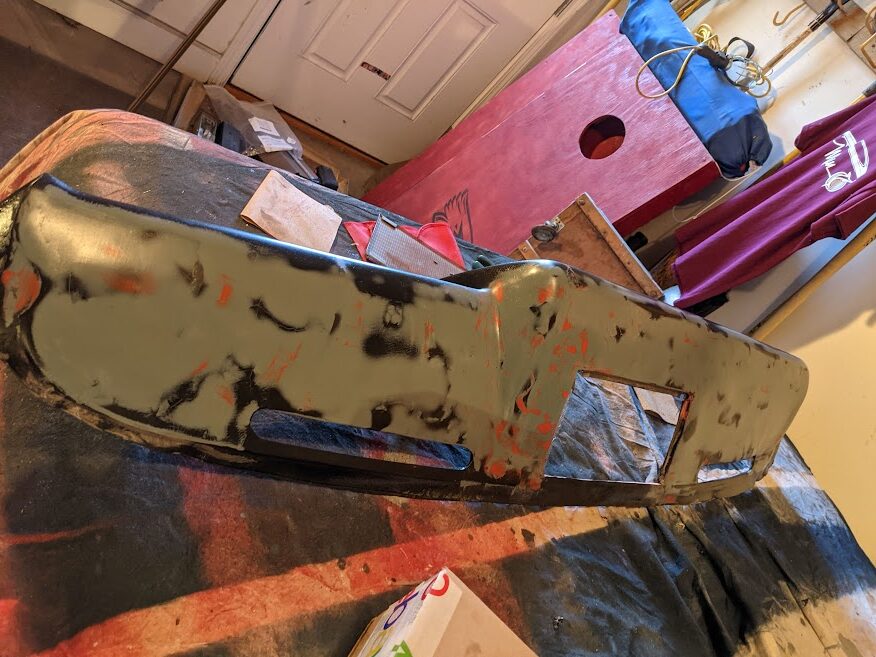
I then sprayed two coats of primer, sanding with 400 between coats. You can tell by the image where some of the original dash showed through after sanding as well as the orange glaze filler for the tiny spots.
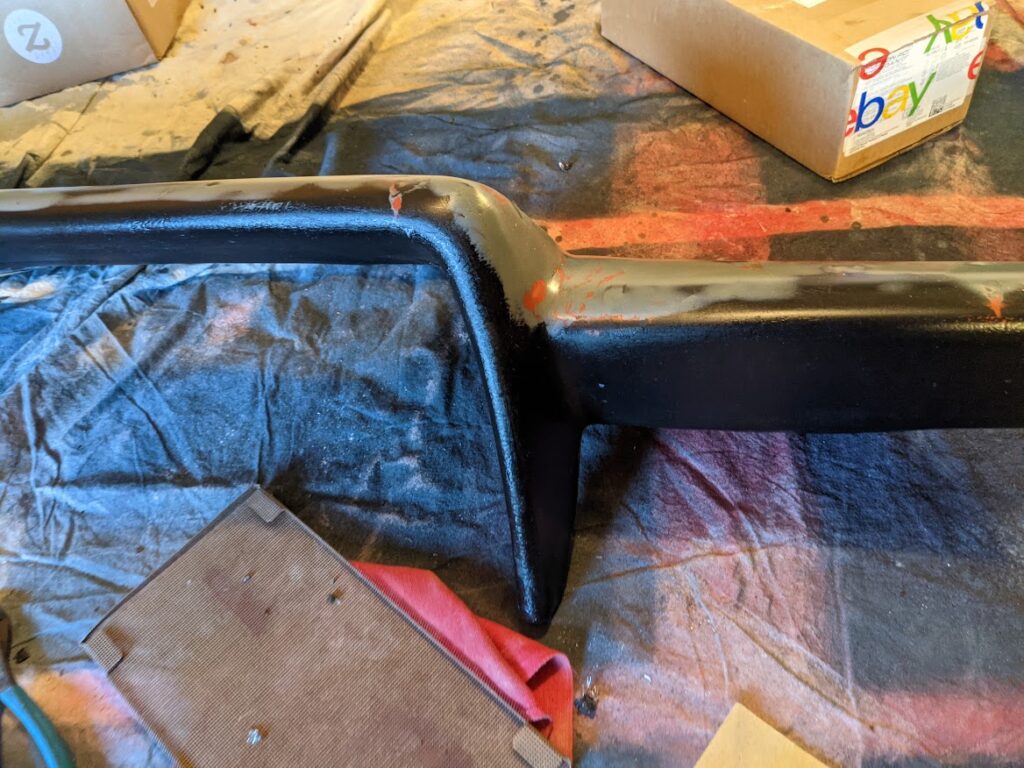
It took three coats of the matte black texture spray paint to cover the pad properly. I also took the opportunity to spray the dash as well.
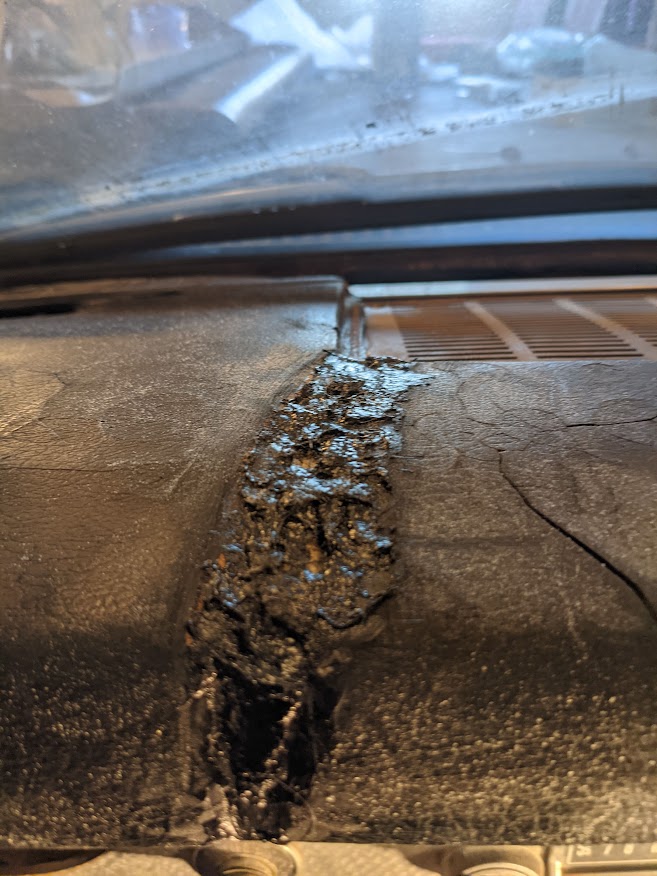
However, there are some things I’d like to point out. When installing the pad after doing some additional dash work, a stress crack appeared so I sanded and resprayed the repair area. Touch-up with texture paint is not easy so you can see the where there are two different textures. Second, there are small cracks that are starting to show up. You can see some of those in the picture below. The original pad vinyl was so brittle I don’t think it was the great base for repair but it was the best I had. I just clean it carefully and don’t throw anything on the dash.
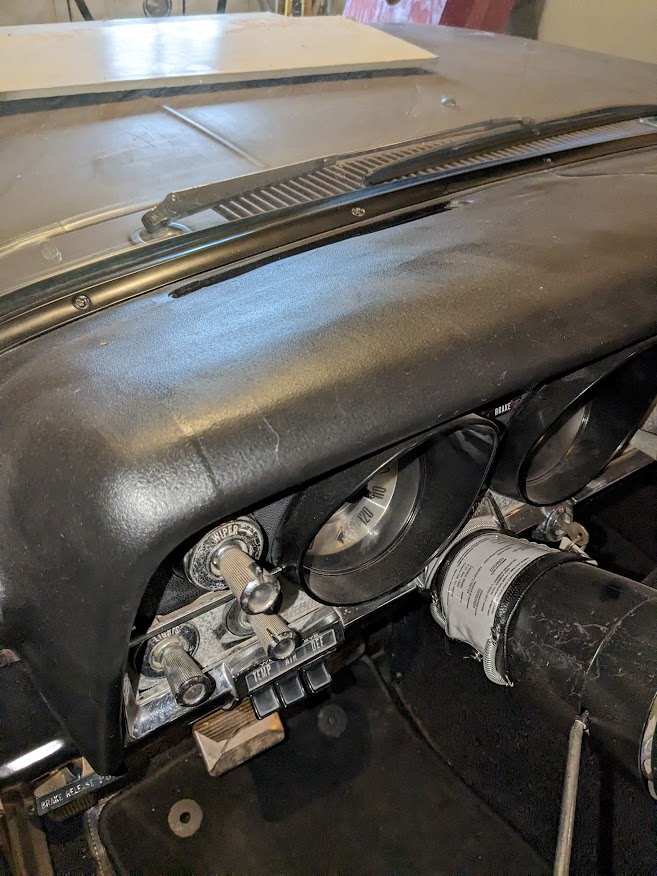
All in all I thought it turned out fine. Maybe someday I’ll cover it with leather but for now it’s looking presentable.
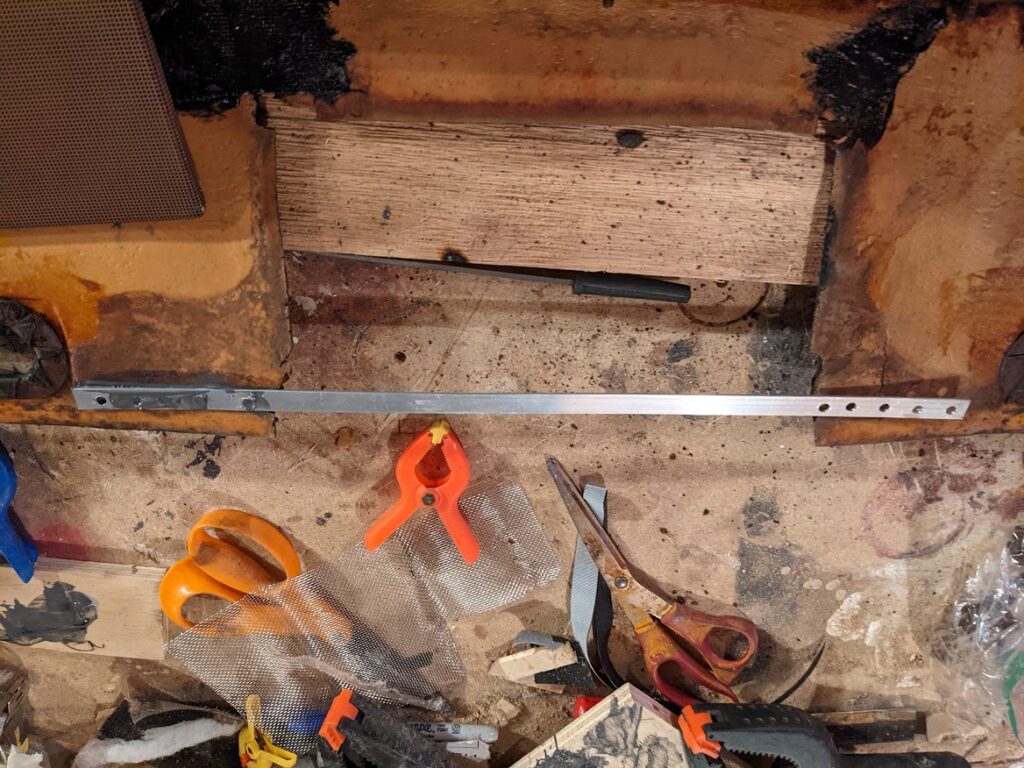
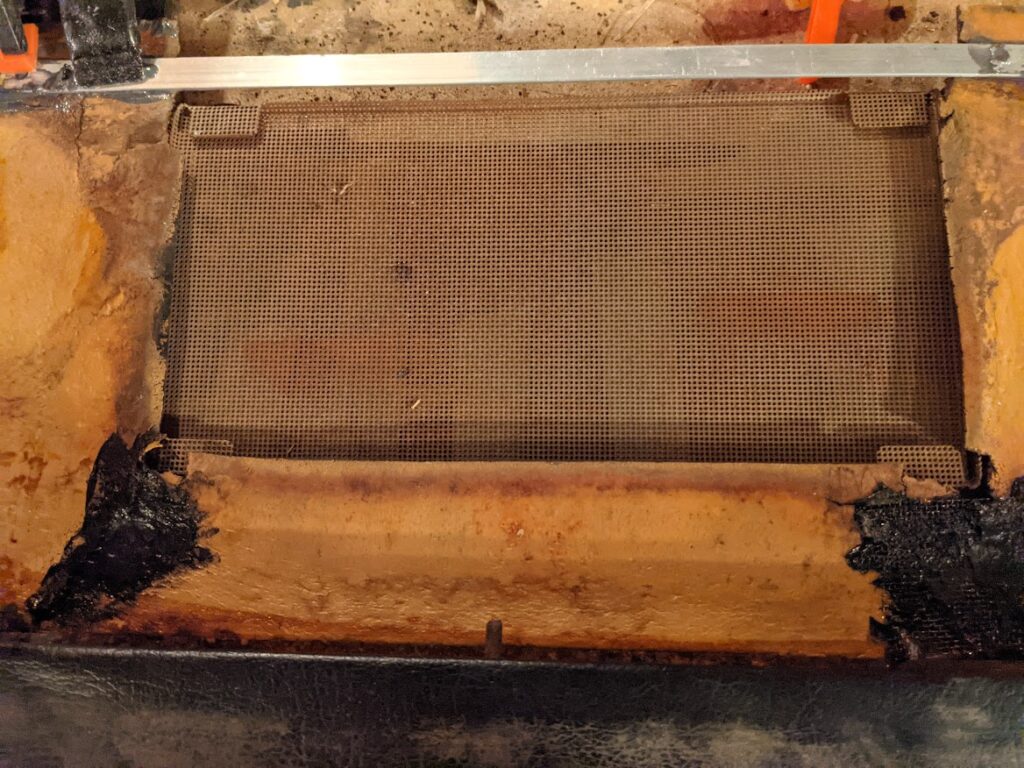
These photos and videos were added later and the end of the post seemed the logical place. These all show the dashpad frame and the location of the studs. It might help in locating the stamped nuts that hold the pad in place.
Remove the flat trim holding the dash along the window. Remove the screws holding the instrument cluster and pull the cluster out away from the dash. Remove glove box liner. That should be enough to get to the studs but I’m not 100% sure, I did this work almost two years ago.

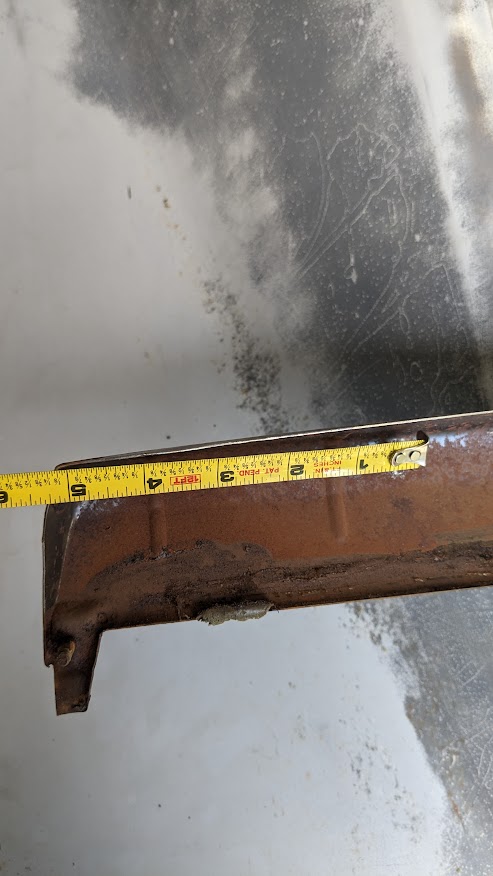
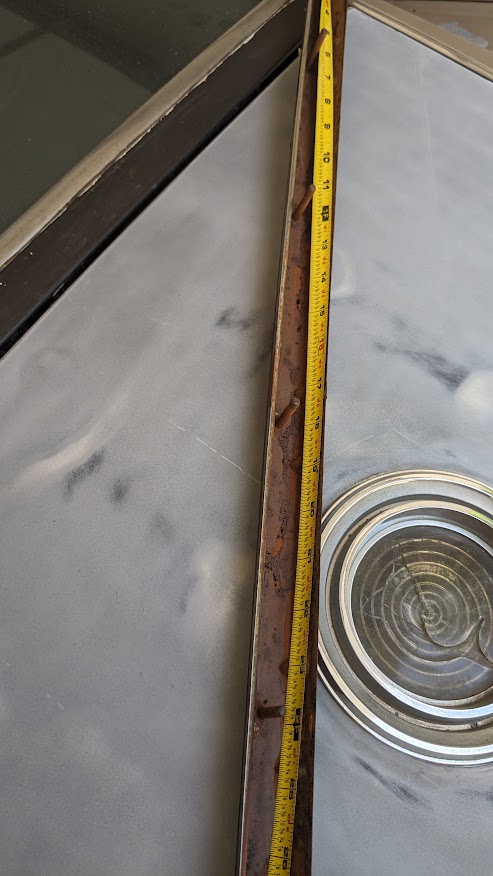
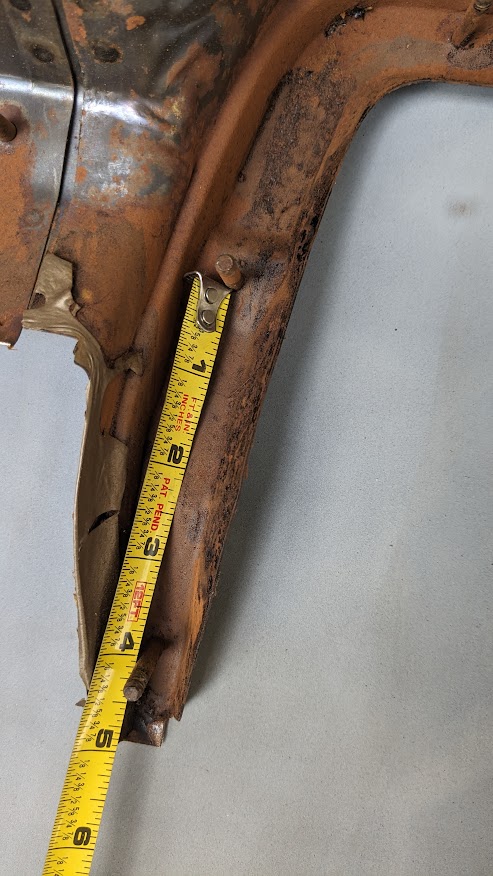
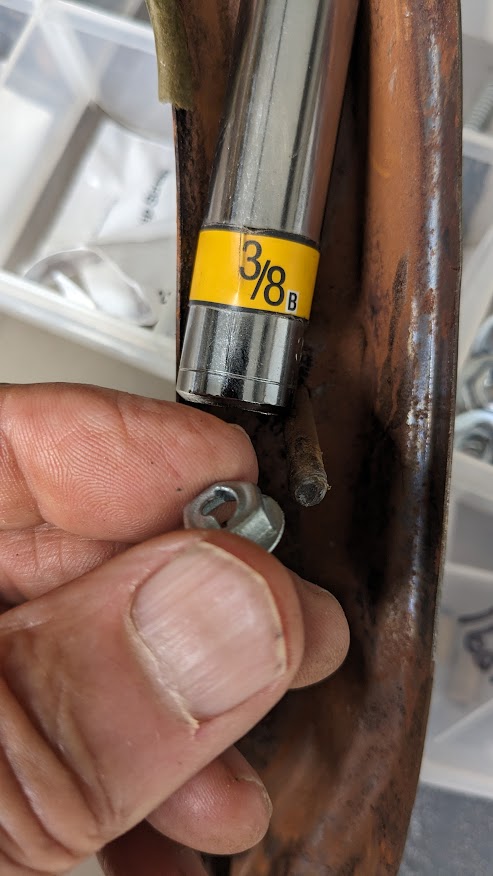
This is the frame for the Marlin’s dash pad. It was pretty much all that was left of the original. I’ve posted it here to give you an idea where the studs are located that hold it to the dash. You might have to zoom a little. I’ve also added a video in the post.